Thursday, July 24, 2014

6 Tomato Bruschetta: Whole Grain and Organic; the perfect cool treat on a hot summer’s day!

6 Tomato Bruschetta
There is absolutely nothing better than fresh summer tomatoes. Luckily, the stores and farmer’s markets are full of them. When I was a kid, I really just remember seeing three kinds of tomatoes; beefsteak, green beefsteak used for fried green tomatoes and little round salad tomatoes. Every year we grew a long row of tomato plants in the garden; 4-5 beefsteak and just one for the salads. At lunch we had tomatoes on whatever sandwich was made and in the evening, we had a couple of slices as a side item to whatever supper was served. We just could not get enough tomatoes, it seemed!

Sidebar:  My mother used to make me peel the big tomatoes before I sliced them and served them, on a sandwich or on the side. I have no idea why she liked them peeled. She still peels hers to this day. I have yet to come across another mom or cook that peels tomatoes. If you have an information as to what caused that trend, please let me know. Now back to Bruschetta...

I cannot remember when I was served my first Bruschetta. I just remember thinking that this would have been the perfect solution to our bumper crops of tomatoes every year. I mean, what else could be needed; buttery toasted bread topped with fresh basil, garlic, tomatoes, onions and drizzled with balsamic vinegar. It’s warm and cool, salty and sweet, soft and crunchy. Bruschetta is just pretty close to the perfect snack.

I’ve given many chain restaurants and family owned restaurants the opportunity to win me over with their versions of Bruschetta. One place even served the tomato mixture sauteed slightly so that it was a warm dish. No bad. Just not my favorite. But every time we order it out, my daughter always remarks that it is never better than my version. It’s terribly sweet of her to say that. Of course, we are usually at an Italian place that is adjacent a shopping mall...so it’s hard to know just how sincere the compliment is. But, she has a pretty good batting average at rating two things; movies and food. So, she must be right!

I was inspired to make my recipe this time using six (6) different varieties of tomatoes. It was my first visit to Trader Joe’s and the tomatoes were just calling me! I bought a container of “off the vine” tomatoes, a container of heirloom tomatoes and a container of sugar plum tomatoes. All the tomatoes were organic and fresh and sweet! It’s a wonder there were enough to serve on top of the bread after all the ‘sampling’ I did!

6 Tomato Bruschetta
Chopping time: 10-15, depending on skill level. : )
Serves: 2-8, depending on love of tomatoes. : )

Ingredients:

  • 1 fresh baked baguette, (mine was whole grain), sliced, buttered and browned in a skillet
  • 1 large beefsteak tomato, diced
  • 6-8 small grape or salad tomatoes
  • 6-8 small orange tomatoes
  • 6-8 small yellow tomatoes
  • 1 small brown heirloom tomato
  • 1 small roma tomato
  • 3 cloves garlic, minced
  • 1/4 cup onions, minced
  • 5-6 fresh basil leaves chopped
  • salt/black pepper to taste
  • 2 TBS olive oil
  • 1 TBS balsamic vinegar


Instructions:

  1. Toast all the bread and set aside.
  2. Chop all the veggies and herbs and toss together.
  3. Add salt, pepper and drizzle with olive oil.
  4. Next add the balsamic vinegar.
  5. Mound the tops of the toasted bread with the tomato mixture.
  6. Just before serving you can drizzle the tops with more olive oil and vinegar.
  7. Grab one while you can....the will go quickly!
Organic Sugar Plum Tomatoes

Container of mini Heirloom Tomatoes
Fresh basil leaves

Rolled the leaves, then chop

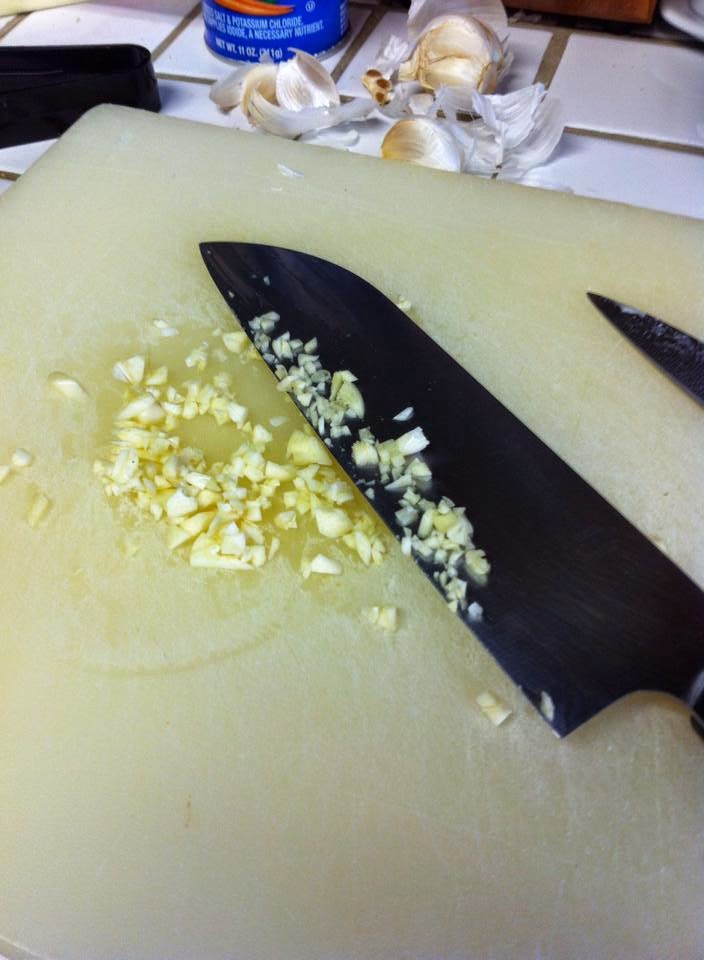
Minced fresh garlic cloves

All tossed in the bowl
This tray lasted less than 3 minutes.


Sometimes, on a hot summer evening, this IS supper for me and my daughter. My husband the ultimate carnivore still wants some protein on his plate, but some of you will really enjoy this when you aren’t in the mood to cook a full meal, but want something light.

Let me know how you like it. If you don’t feel like shopping around for six kinds of tomatoes, it is just as tasty with a single variety. I just got a little overwhelmed with all the choices that day...so I chose them ALL!

Have a great weekend!

As the mixing bowl turns,
Donna ; - )

Wednesday, July 23, 2014

Cream Scones: a.k.a. A Fancy Biscuit With Stuff in It!

Cranberry Scones with Orange Butter Glaze
As a southern raised gal, I could not begin to count the number of biscuits I have been served or eaten. Biscuits were the most common form of bread made in my household, with cornbread running a close second. Every woman in my family had their own twist on the perfect biscuit; some liked them thick and bready, while others liked the top and bottom to be crisp and browned with bacon drippings. And this particular homemade bread wasn’t just for breakfast. It could show up in as a snack with whatever meat was leftover that morning; ham was my favorite. There were always a couple of those little treats waiting in a small plate on the stove when we came home from church on Sunday. Oh the memories of that dash from the car to kitchen.

Honestly, I had never heard of a Scone until I went to college. I attended some brunch event and saw something resembling a biscuit, but cut and baked in a pie slice shape with bits of stuff cooked inside it. Seemed odd, but I tried it. It was okay. Actually, it was horrible. Very dry. But all those attending kept asking if I had tried the Scones...weren’t the Scones just lovely....so I did what any proper southern girl was raised to do...I lied. I said they were deeee-licious! Over the next three decades I had opportunity to try and acquire a taste for Scones, but with little luck. I always felt like I was participating in that kids game where you put saltines in your mouth, chew them a little and the first who whistles, wins. The Scones I had tried were all dry and tasteless.

Then, (insert trumpets: da, dada, DA!) I receive a basket of Scones baked by the CFO of a hospital where my husband worked. Seems the CFO liked to bake when he was stressed. Dude made enough Scones one evening to feed a small army. In any case, I was thrilled. He made three varieties, Cranberry, Cinnamon Chip and Chocolate Chip. They were fluffy, light, buttery, crisp on top and bottom and moist inside. He had managed to take my Granny’s best biscuit recipe and fill it with tasty bits of dried fruit and other sweet temptations! I had no idea that Scones could be that good!

I immediately asked for the recipe and was shocked by the key ingredient, heavy cream. That is the only fat in this fancy biscuit. It is to be noted, that I have altered that portion of the recipe, just because I didn’t read the recipe right the first time and so I added the 2TBS of melted butter to the dough, before I read far enough to realize I was to use that to brush the tops of the Scones. It just made them taste so good that I left my mistake in the directions. What’s two more TBS of butter gonna hurt? Right?

It’s a very easy recipe to whip up when you have company and they are always impressed when you use the word Scone for some reason. You will definitely keep this recipe handy once you see how good it is. I now use it as my actual biscuit recipe, instead of the old one that required I cut in chunks of shortening.

You can top them with the fancy coarse decorators sugar (usually found by the bridal and cupcake stuff) or make a simple powdered sugar glaze. Actually, they don’t need anything but a little butter inside when you nab one right off the pan that’s hot out of the oven.

Cream Scones
Oven Temp: 400 degree
Cooking Time: 18-22 minutes

Ingredients:

  • 2 Cups all-purpose flour
  • 1/4 cup sugar
  • 1 TBS baking powder
  • dash of salt
  • 1 cup flavored bits* (optional), died cranberries, cinnamon chips, chocolate chips or other dried fruits/nuts, basically whatever you feel like creating...can be savory with cooked sausage/herbs..
  • 1 1/3 cups HEAVY cream (no substitutions)
  • 2 TBS melted butter
  • *I put the zest of half an orange in my Cranberry Scone version. I usually put lemon zest if I make Blueberry Scones.

For the tops:

  • 2 TBS melted butter
  • Coarse or decorative sugar
  • or glaze to be added after baking


Instructions:

  1. Put all dry ingredients in a large mixing bowl and combine.
  2. Add the flavored bits of your choosing...if you choose to have bits, if not, plain Scones are amazing, too! Mix well.
  3. Next add the cream and melted butter.
  4. Combine slowly with a spoon, or with your hands. Over working the dough makes a tough Scone/Biscuit.
  5. Turn out on a floured surface and kneed/fold about 4-5 times.
  6. Form the dough into a round flat shape and pat down to about a 1/2” thickness
  7. Cut into eight (8) pieces and place on an oiled cookie sheet, spreading each apart. The dough will rise while baking.
  8. Brush the tops and sides with the melted butter
  9. Sprinkle the tops with the coarse decorative sugar...unless you opted for the glaze or plain option, then do nothing.
  10. Bake at 400 degrees for 18-22 minutes. Tops should be golden and the middle should be done, but moist. Don’t leave to long or they will dry out.

Cranberry Scone Glaze:

  • 1 cup powdered sugar
  • 1 TBS melted butter
  • 1/2 tsp Orange zest
  • 3-5 TBS Orange juice
  • Mix the ingredients together, slowing adding the orange juice, until you get the glaze as thick or as thin as you desire.
  • Apply glaze after the scones have cooled on a rack for at least 5 minutes.
Dry Ingredients, ready for the bits!

Dried Cranberries and some Orange Zest

Easy going, mixing in the heavy cream!

Dough ball is a little sticky.

Make it about 1/2” thick

Cut into 8 pieces

Spread apart on the cookie sheet

Brushed with melted butter

Choc. Chip and Cranberry Varieties

Cranberry ready for the glaze

Apply the glaze to barely warm scones

Add a little honey butter for a finishing touch!


Don’t try to be healthy on this one and use Half/Half or Whole milk or 2% milk, the scone will be tough and heavy. You are going for light and fluffy moist yummy! I generally buy a quart of heavy cream, that way I can make two varieties at the same time. My kids like the chocolate chip ones and I like cinnamon chips or dried fruit in mine. I also make honey butter to put inside, but that’s my little treat. You can put inside them whatever you wish. They are actually pretty darn good without any add ons.

Funny little side note... I made six batches of this dough to use as just plain round biscuits for a Men’s Breakfast at church (I also supplied 2 gallons of sausage gravy...). Anyway, my husband came home with 8 or 10 leftover biscuits. Later that evening, I used those leftover biscuits and made the absolute best bread pudding I have ever eaten. I have tried making bread pudding the “normal” way since, and it has never been as good as my biscuit bread pudding. Kinda funny.

Try this one and show me your baking successes! Your family and friends will thank you for giving this one a shot.

As the mixing bowl turns,
Donna ; - )

Thursday, July 3, 2014

Pepperoni Lasagna: An Instant Crowd Favorite!


Pepperoni Lasagna
My first memory of this recipe was the summer of ’85. My post-college roommate was making a big pan of the stuff for her then fiance. It took a little pleading, but I ate a piece.  Okay, I begged. I mean, really? It was a 9" x13" pan that felt like it weighed 10 lbs...one fiancé could not consume ALL of that! She eventually caved and gave me a sizable corner piece. It was scrumptious! And there was not a cottage cheese curd in sight. Ricotta! Where had you been all of my life? 

Her lasagna was filled with layers of ground beef, sautéed vegetables and three kinds of cheese. I committed her recipe and process to memory immediately and I’ve always received rave reviews from those I served this cheesy, noodlie casserole. 

Fast forward about four years and I'm a newlywed. On a grocery outing I ask my dearly beloved if he liked lasagna? "No, I hate lasagna," he said. I was crushed. Here I had a great recipe and I wasn't gonna get to show-off. 

Two years go by and I'm on another grocery outing and a major hankering for lasagna overtakes me. I've gotta have it! I purchase the ingredients, go home and make a big 9" x 13" pan of lasagna that will keep me in lunches for a week and a half. I don't mind. I finished just in time to take some to work that evening to eat on my dinner break. I left the rest on top of the counter to cool. About an hour into my shift, my husband calls. He's all excited by what I had made him for dinner! Said he had already eaten half the contents of the pan! Then he asks, "What is this stuff?" "That, my dear, is lasagna." Turns out he had experienced the goopy cottage cheese kind, too. Like me, he hadn't met ricotta.

This recipe isn't difficult. It is just time consuming. Like most casseroles, everything is pre-cooked, then mixed and baked together. After making this recipe a couple of times, you'll add your own special ingredients and customize it for your table. 

My roommate's version contained sliced mushrooms, bell pepper strips and black olives. The only veggie I sneak in on my family is sautéed spinach that I add to the ground meat layer.

Here is my take on her recipe. It's been a family favorite for over 20-years! Thanks roomie!!

Pepperoni Lasagna

Oven Temp: 350 degrees
Baking Time: 45-55 min.

• 12 lasagna noodles, cooked 3/4 done, drained, set aside.

• 1lb lean ground meat or Italian sausage browned with 2 cups chopped onion, seasoned with salt, black pepper, garlic.

•  2 jars or tall cans of your favorite spaghetti sauce, heated in a sauce pan.

• 1 large tub of Ricotta Cheese, mixed with 1 egg, 1 cup grated mozzarella cheese, 1/4 cup Parmesan cheese, a little salt, pepper, garlic. Set aside.

• 1 pkg Hormel Sliced pepperoni
•  2-3 cups grated mozzarella 

Assembly:

• In the bottom of  a 9" x 13" pan, cover with a thin layer of sauce.
•  Add three lasagna noodles, followed by half the cooked ground meat, sprinkle with mozzarella cheese and top with more sauce.
• Top the ground meat layer with three more noodles, a layer of sauce, next the ricotta mixture, then the pepperoni, more sauce, then cheese.
• Third layer is three noodles, sauce, cheese, ground meat, cheese, sauce.
• Top with remaining three noodles, generously cover with sauce and cheese.
• Cover and bake at 350 degrees for 45-55 minutes. Remove and let set-up for at least 5-10 min. Before serving.
3/4 cooked lasagna noodles
Jazzed up spaghetti sauce
Ground meat cooked with onions
Ricotta mixture
Ready for the second tier
After adding ricotta
Then the pepperoni
Sauce, then cheese
Ready for the last tier
Cooked ground meat, sauce
Top completed with last of cheese and sauce
Parchment to prevent sticking to the foil

I put a piece of parchment paper on top, so that my cheese would not stick to the foil cover as the lasagna baked.

Unfortunately, the kids arrived home and began eating before I could snap a photo of the finished product. Oh well. 

Don't be scared off by all the steps and layers. You can do it in a snap! And the next thing you know, you'll be making this recipe for 20+ years, too!

Please let me know how yours turns out!

As the mixing bowl turns,
Donna ; - )